
2
Walkthrough Pt. 1 - Introduction | North Varennes | South Varennes | Ludon | Nazelle | Frozen Sea
Walkthrough Pt. 2 - Cumberland | North Longit | South Longit
Walkthrough Pt. 3 - Steppe | Savannah | Melu | Austeros
Walkthrough Pt. 4 - Comroon | Salamat | Jauda | Torrence | Last Emperor
Walkthrough Pt. 2 - Cumberland | North Longit | South Longit
Walkthrough Pt. 3 - Steppe | Savannah | Melu | Austeros
Walkthrough Pt. 4 - Comroon | Salamat | Jauda | Torrence | Last Emperor
This second part of the Walkthrough deals with the regions of Cumberland, North Longit and South Longit.
The Introduction excepted, there is no compulsory order for quests and you are free to deal with the quests available to you in any order you want. Nevertheless, some areas are only accessible after completing specific quests, and some quests are only accessible after a certain number of generations have passed. This walkthrough is thus mostly geographic and at times you will have to jump from one section to another: do not let this bother you! Maps of all dungeons are included below; town maps are in the Maps section. If you feel lost or do not know what to do, this Complete Quest List can also serve as a rough check list or reminder.
The Introduction excepted, there is no compulsory order for quests and you are free to deal with the quests available to you in any order you want. Nevertheless, some areas are only accessible after completing specific quests, and some quests are only accessible after a certain number of generations have passed. This walkthrough is thus mostly geographic and at times you will have to jump from one section to another: do not let this bother you! Maps of all dungeons are included below; town maps are in the Maps section. If you feel lost or do not know what to do, this Complete Quest List can also serve as a rough check list or reminder.
CUMBERLAND

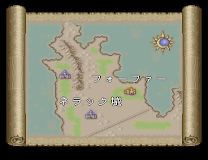
After having brought down the Canal Fortress, your intelligence officer in Avalon Castle tells you that Harold, the King of Cumberland (on the other side of the Oreon Sea) wants to talk to you. To reach Cumberland, board a ship in Somon, bound for Douglass.
The possible routes and events in Cumberland are quite detailed and change slightly with most of your actions (even though there are several common landmark events), so we will walk through this part like in a You Are the Hero Book ; )
There are two main routes to this quest:
- if you head to Douglass early (i.e. before another generation passes after the clearing of the Canal Fortress), go to 100.
- if you go to Cumberland later, something seems very wrong in Douglass. Go to 200.
100 - A CONSPIRACY BEYOND THE OREON SEA
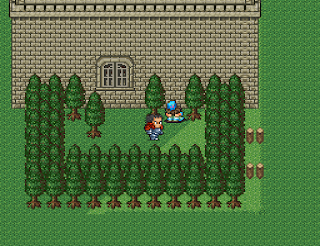
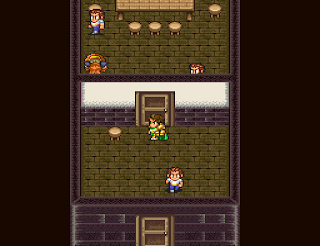
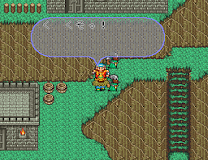
In Douglass, look around if you wish then head into the Castle by the North exit.
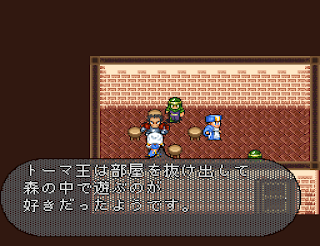
King Harold welcomes you, introduces his third and last child, Thomas, and asks if you have met his other two children, Georg and Sophia:

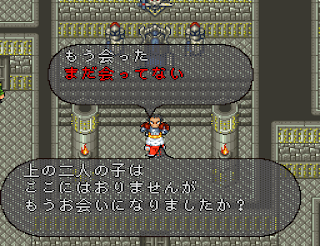


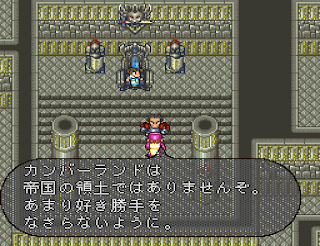
- If you haven't, you can do so now. Head to Castle Nerak and Hofah, now open, to talk to Georg and Sophia. There is not much else to do now. (You can open the Great Wall in Nerak and go have a look if you want.) Then come back to King Harold.
- If you say you have, you spend the evening and Harold eventually asks your opinion about his successor. There is no 'correct' answer here; the scenario will branch differently depending on your choice.

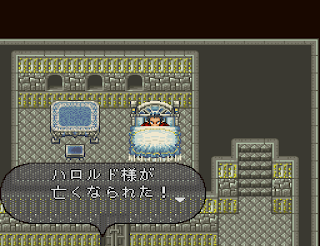
The next day, the King is dead! (Thank Heavens you are not accused of murdering the old man!)
But where is Thomas?
If you cannot find Thomas, go to 110.
If you could find Thomas, go to 120.
110 - If you cannot find Thomas, go meet Sophia (in Hofah Castle).
(Note that if you had not met with Georg or Sophia - or rather had not opened Castle Nerak and Hofah on the Map - and still said that you had, you *must* find Thomas to proceed: go to 120.)
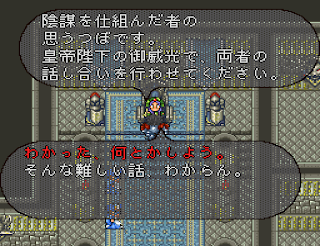
Talking to Georg does not do anything (he is not that smart), but Sophia realizes that this is a carefully planned conspiracy and asks for your help. If you decide to help her, the two of you head to Castle Nerak to talk to Georg. (If you don't, you cannot move forward in this quest.)
Go to 130.
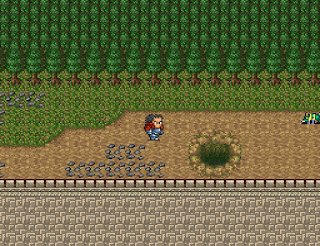
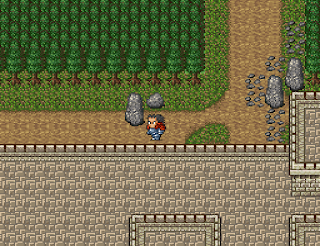
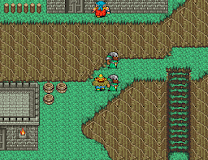
120 - You found Thomas in his secret hideout (which you can access by following the hidden path starting at the back of the vegetable field).

A soldier appears...
If you had advised Georg or Sophia as heirs to Harold: go to 121.
If you had chosen Thomas or not to care: go to 122.
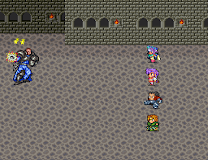
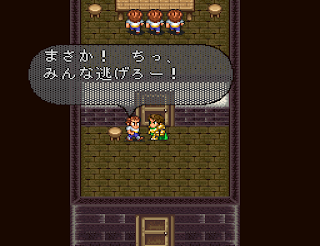
121 - You notice Cyfreet's conspiracy as the guard states that Harold's will designates Thomas as the successor. The guards try to eliminate you! Defeat them.

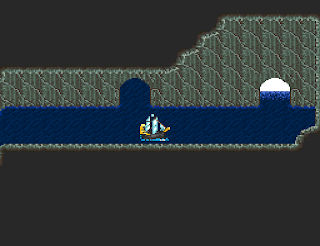
You must now flee with Thomas to Castle Nerak, through a special mini-map accessible only at this time:
PATH FROM DOUGLASS TO NERAK
Enemies: Demon, Guards (Novice & Senior / Galiant Blue & Shadow), Human, Beastman, Beast, Snake.
Loot: none.

At Castle Nerak you meet Georg; Sophia joins you and she explains her suspicion of foul play to her brother.
Go to 130.
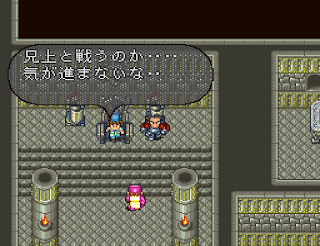
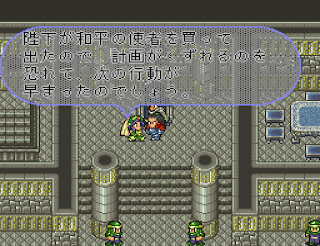
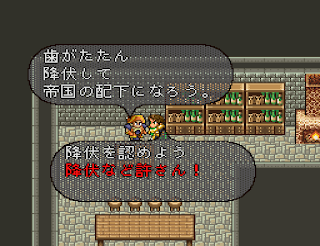
122 - Thomas sits on the throne, with Cyfreet as his advisor, who recommends to hunt down Georg. But Thomas wants to talk to Georg first.
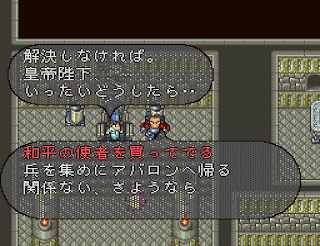
If you praise the pacifist: go to 123.
If you decide to go back to Avalon or not to care, you are back in your familiar throne room. If you go back to Cumberland at some point: go to 200.
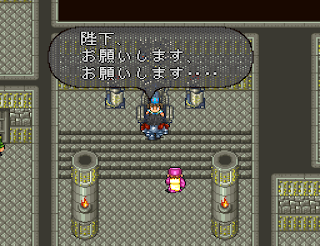
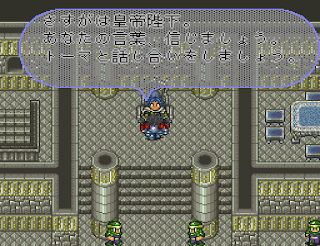
123 - Thomas begs you to go discuss and make peace with Georg in his name.
Cyfreet is not too happy about that for sure!
If you head to Castle Nerak first: go to 124.
If you head to Hofah first: go to 125.
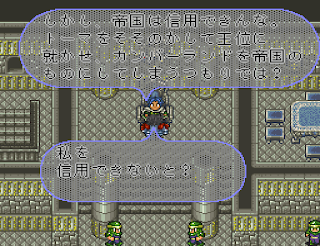
124 - In Castle Nerak you talk to Georg. Unfortunately, he cannot trust you.

Fortunately, news come that monsters are swarming from a tunnel they have dug under the Great Wall and you can go deal with them to prove yourself to Georg!
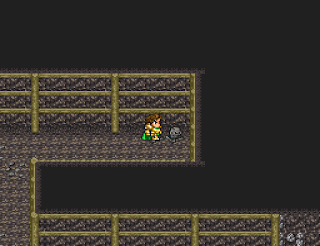
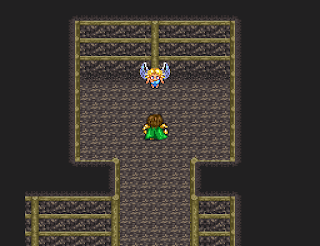
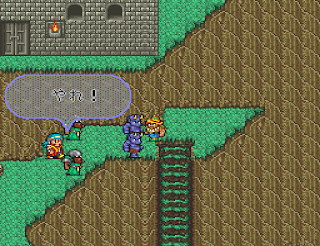
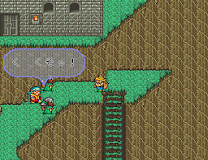
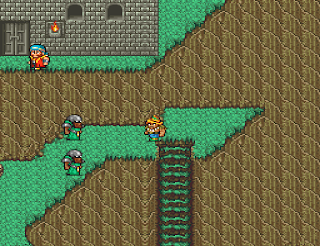
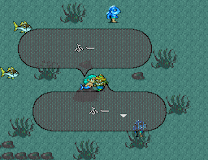
GREAT WALL / TUNNEL
Enemies: Beastman, Demon, Insect, Snake, Beast.
Loot: none.

Walk along the Great Wall to find the tunnel entrance.
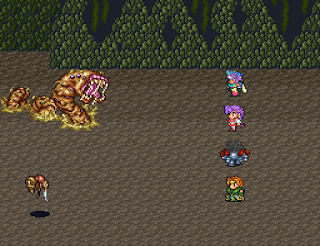
At the end of a very short path, a Duneworm.
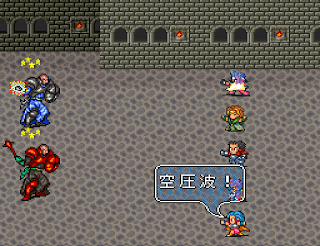
Careful of its Fissure Strike (use Free for All). Airwave works well.
The tunnel caves in: mission completed.
When you come back, Georg is impressed and decides to trust you (well, that was easy.)
But another news comes in: an order bearing Thomas' name condemns Georg to death!
Right on time, Sophia appears and convinces Georg that this is all a conspiration.
Go to 126.
125 - In Hofah, you explain the situation to Sophia and you both go to Castle Nerak to discuss things with Georg.


But an order bearing Thomas' name comes in, that sentences Georg to death! Georg flares but Sophia is there to explain that this is but a conspiracy for someone to seize power and if she is right monsters should join the fray. And they do! having dug a tunnel under the Great Wall. You volunteer to take care of them.
GREAT WALL / TUNNEL
Enemies: Beastman, Demon, Insect, Snake, Beast.
Loot: none.
Walk along the Great Wall to find the tunnel entrance.
At the end of a very short path, a Duneworm.
Careful of its Fissure Strike (use Free for All). Airwave works well.
The tunnel caves in: mission completed.
Go to 126.
126 - Now that everyone is in phase, we must rescue Thomas! You will do that while the brother and sister lure most of the occupation force out of town.

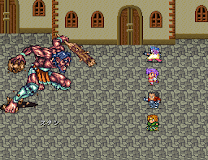

To reach Douglass Castle, you can either face the Spriggan (it is a very challenging battle if you come early; 12k HP: your best bet is to try to Stun him at every turn - Careful! if you defeat him, do not stay at the Inn or he will respawn!) or use the secret entrance into Thomas' bedroom.

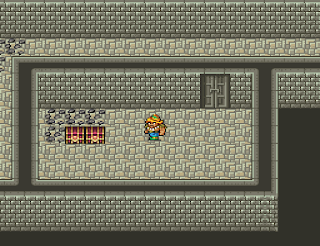
Thomas is in the basement in the right-most, hidden cell. You find him safe and regroup with Sophia and Georg (Victory Music!). Cyfreet of course was behind everything; he has run away North: time to finish this: go to 140.
130 - We learn that monsters have dug a tunnel under the Great Wall (This cannot be a mere coincidence!) and that Georg was sentenced to death in Thomas' name (Conspiracy!).


You volunteer to take care of the monsters while they get ready to retake Douglass.
Note that you can go to Douglass and enter the Castle by the secret path but there is nothing there. Nevertheless, you can rest at the Inn (which may be the only place where you can rest in Cumberland, depending on your previous actions).
GREAT WALL / TUNNEL
Enemies: Beastman, Demon, Insect, Snake, Beast.
Loot: None.
Walk along the Great Wall to find the tunnel entrance.
At the end of a very short path, a Duneworm.
Careful of its Fissure Strike (use Free for All). Airwave works well.
The tunnel caves in: mission completed.
If Thomas wasn't with you: go to 126.
If Thomas was with you, Douglass was retaken and everything there seems back to normal (that was quick).
Cyfreet was behind everything: time to settle all accounts: go to 140.


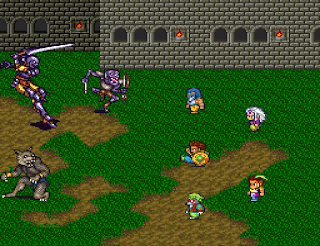
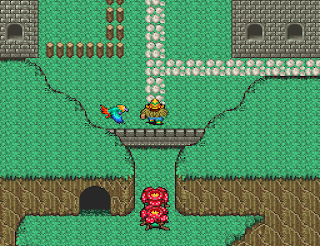
140 - FORT CYFREET
Enemies: Beast, Flying, Spirit, Skeleton, Guard, Beastman, Undead, Reptile,
Loot: Rubber Soles, Sweatsuit, Worm Slayer, 320kG.

(Note that if you sail away from Cumberland between rescuing Thomas and defeating Cyfreet, then Georg and Sophia defeat Cyfreet on their own, Fort Cyfreet is out-of-bounds, Cumberland cannot be annexed anymore and you won't be able to recruit Crusaders.)
Enter Fort Cyfreet, grab some treasures (now or later), and catch Cyfreet who was about to flee.
Cyfreet is accompanied by some Human enemies.
Stun and Paralysis work on him so don't be polite. Airwave does wonder.

Sophia and Georg agree that Thomas should be King, while they form the Holy Order Crusaders to help you.
And Cumberland becomes part of the Empire (income +3200G).
Good job!
If you hadn't opened Castle Nerak or Hofah, you can do that now (the NPCs in Douglass are back to normal).
You can also recruit Holy Order Crusaders (M/F) by talking to Georg/Sophia or their successors in Nerak/Hofah.
Go to 300
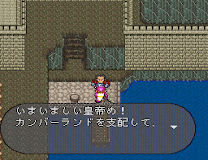
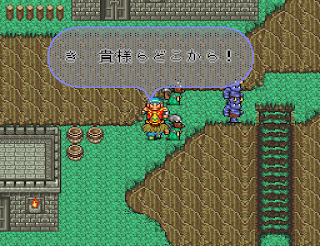
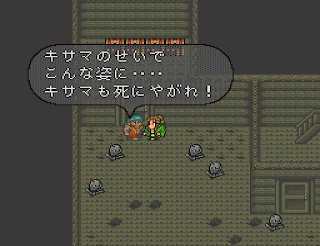
200 - THE FALL OF CUMBERLAND
(If a time jump occurs between the fall of the Canal Fortress and Thomas' rescue, or if you leave on mission and come back by ship, Cumberland falls! Even if it's actually a bit more complicated than that.)
Douglass is occupied by an unknown force; you cannot enter the castle. If you touch a soldier, it is money (1kG) or battle. Talk to the shopkeeper and the bartender to unlock respectively Castle Nerak and Hofah. Note that if you have come to Cumberland before and had talked to Thomas at his hiding place, you can enter the castle using the secret way.


Castle Nerak is filled with ghosts! Prince Georg is a ghost too. Nothing happens if you fight him.
In Hofah, a Demon is on the throne. Nothing happens if you fight him either.
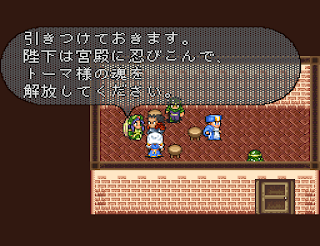
But beyond the school fireplace is a secret room that serves as the headquarter of the Order of the Phoenix–- I mean, of the Holy Order Resistance, led by Princess Sophia.
Listen to her sad tale, then head to the Great Wall to drive the monsters out.


At the Great Wall, enter the hole and defeat the Dune Worm to block the monsters' path.
Back in Hofah, talk to Sophia: they will now head to Douglass.
Before joining them, talk to the woman who was next to Sophia to learn about the secret way into Thomas' bedroom.
In Douglass, the soldiers are gone.
You can either enter the castle by defeating the Spriggan at the entrance (you will have to defeat him again), or by taking the secret path (you may have to learn about it to be able to use it).


In the hidden cell of the basement of the castle is Thomas' ghost: talk to him and Douglass regains some normalcy.
Go talk to Sophia (behind the school fireplace in Hofah): Georg knew where Cyfreet would hide: go to Nerak Castle to talk to Georg's ghost, now joined by Thomas. They leave appeased.


Let us finish this and head to Fort Cyfreet.
FORT CYFREET
Enemies: Beast, Flying, Spirit, Skeleton, Guard, Beastman, Undead, Reptile,
Loot: Rubber Soles, Sweatsuit, Worm Slayer, 320kG.
Enter the Fort, grab the treasures (now or later), to catch Cyfreet who was about to flee.

Cyfreet is susceptible to all status ailments, which is wonderful.
Airwave works wonders.
Cyfreet has paid for his crimes but only Sophia has survived his coup..
Cumberland becomes a part of the Empire, and you can now recruit Holy Order / Crusaders.
Good job!
Go to 300
Note about the Fall of Cumberland
The trigger for the Fall of Cumberland is actually to leave Cumberland and come back to Douglass by ship (from Somon or Miles). Cumberland won't Fall if you leave and come back from Tsukijima (after opening early the Sea Route through the Comroon Strait - see just below) or through the Great Wall (open after defeating Bokhohn via slave labor since you do not have access to Hofah).
It is actually alright to leave Cumberland and come back by ship to Douglass before the appearance of monsters at the Great Wall (except if your Emperor LP-dies or your party is wiped out when you flee with Thomas from Douglass to Nerak, or when Douglass is occupied).
Also, there are a few special cases, i.e. if you come back to Douglas by ship:
- after defeating the Dune Worm but before rescuing Thomas: Georg and Sophia will have taken Douglass.
- after retaking Douglass and rescuing Thomas but before defeating Cyfreet: Georg and Sophia defeat Cyfreet, Cumberland cannot be annexed, Crusaders cannot be recruited.
Note that if a party wipe or Emperor's death occurs after the appearance of monters at the Great Wall, Cumberland falls anyway.
Also note that Cumberland will fall if a Time Jump occurs between the clearing of the Canal Fortress and the retaking of Douglass. Time-Jumping becomes all right once Thomas is rescued / Douglass returns to normal, and the resolution of the Cumberland events can thus be postponed after that point: you can go do something else elsewhere and even Time Jump if you want, but you must not come back to Douglass by ship: reach Cumberland from Tsukijima or through the Great Wall (although there is really no benefit in postponing the annexion of Cumberland, haha). You could also start Cumberland even before taking down the Canal Fortress.
300 - A SEA ROUTE TO COMROON ISLAND
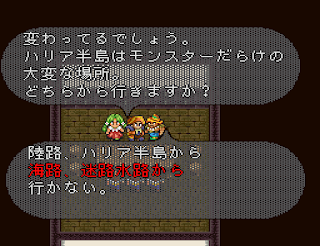
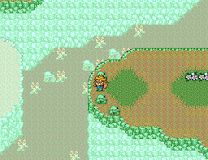
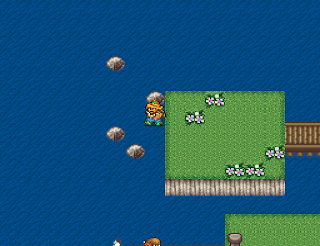
If your Emperor is an Armed Merchant, at any time you can go to Hofah harbor and challenge the sea to open a new route to Comroon Island, through the Comroon Strait.
COMROON STRAIT
Enemies: Aquatic, Fish.
Loot: None.

A rather short map with whirlwinds that allow you to travel around: each time, after a fight with an Aquatic enemy your ship arrives at an underground water cave with Fish enemies (which you can avoid most of the time by keeping pressing right when you fall and heading out ASAP). On the other side: Tsukijima. And your income gains an additional 200G.
NORTH LONGIT
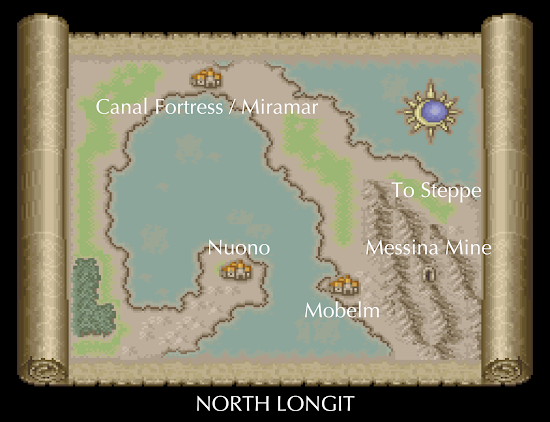
You have access to North Longit after destroying the Canal Fortress and crossing the Victor Canal in newly-founded Miramar. Note that if there is no time skip after you destroy the Canal Fortress, Miramar appears as 'Canal Fortress' in both South Varennes and North Longit.
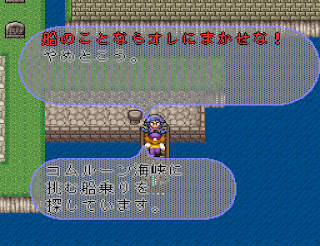
In North Longit you will have find a way into Nuono to deal with the Armed Merchants (pirates, really ; )
Generations later, a certain Garon takes over the Armed Merchants and stirs trouble.
MIRAMAR
Once the Canal Fortress is cleared, the town of Miramar is founded and grows over the generations.
Income +200G after 2, 4 and 6 generations, at which point the construction of the Leon Bridge is possible: talk to Hiraga in Somon with at least 1 million G. In Miramar, talk to him again: income +600G, 1 year passes, and the shop that can sell Halberd and Full Armor is now accessible.
Cross the Victor Canal to access North Longit (you must talk to your Intelligence Officer to open Mobelm).
If the Leon Bridge is destroyed, see the dedicated section in South Varennes.
MOBELM
Mobelm and her sea routes have been taken over by the Armed Merchants Group.
There are several ways to do this.
Their HQ is the Western-most building.
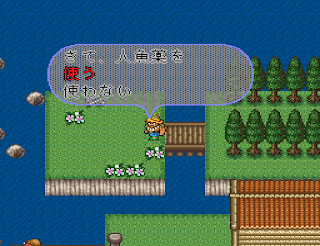
1. - If you are a 'Wild' Emperor (i.e. Mercenary, Hunter, Nomad, Armed Merchant, Saigo Clansman, Brawler, Vagabond or Iris): you deceive the guard (you invite him to have a drink if you are male, to have sex if you are female!), knock him out, and can eavesdrop leisurely that there is a hidden path to Nuono through the Chalier Peninsula.


To open this path, talk to the bartender in Tefal (Ludon Region) and ask for info about Cape Chalier: you can now access it on the Regional Map.


CAPE CHALIER

Enemies: Plant, Beast, Flying, Spirit, Reptile, Undead, Skeleton, Inorganic. Insect.
Loot: None.
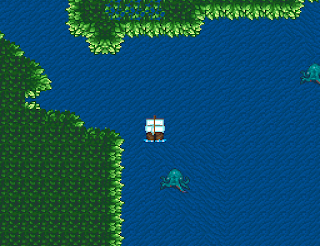
Follow the 'Beast Road' (it is really filled with enemies) until you reach Nuono.


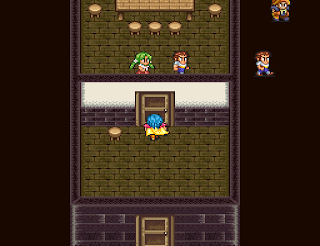
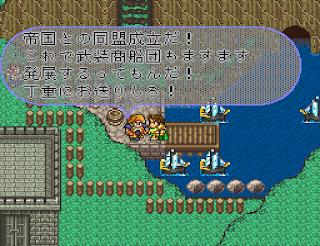
In Nuono, in the top-most building, talk to the leader, Henrique, who is amazed and asks what you want from him:
- Disbanding will lead to a battle (retreating brings you back to the previous choice). Defeat him to control North Longit and raise your revenue by 1200G, but you won't be able to recruit Armed Merchants.
- Subduing is arguably the best choice: North Longit becomes a part of the Empire, you gain an additional 1800G in revenue and the possibility to recruit Armed Merchants.
- Allying will make North Longit yours and add 1200G to your income, but you won't be able to recruit Armed Merchants.
Anyway, congratulations for solving this tricky situation!
2. - If you are not Wild enough, when you barge in their Mobelm HQ you are barred from entering, the guard recognizes you in the end and they flee..
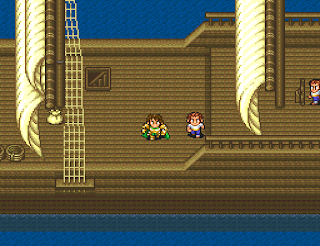
Board the Armed Merchants' Ship (Western dock), enter and talk to the captain in his cabin:


2.1. - If you want him to work for you, and insist, battle it is! After defeating this Viking, take control of the ship by examining the helm: off you go through the Longit Sea to the Waterway Maze that protects Nuono.


WATERWAY MAZE
Enemies: Aquatic, one Ship.
Loot: None.

Follow the path counter-clockwise to avoid all enemies.
In Nuono, go straight to the Northern-most building (if you talk to the sailors on the way: battles) to find the Armed Merchant leader:


- if you accept his surrender, all is good: you take control of the Region, gain 1800G of revenue, and can recruit Armed Merchants.
- if you refuse, battle it is. If you retreat, back to the previous choice. If you defeat him, the North Longit region is annexed and your income goes up by 1200G, but you won't be able to recruit Armed Merchants.

2.2. - If you suggest to work together, first you must clean up the Messina Mine as a sign of good faith.


Get out of the ship, out of town, to the Mines, now open.
MESSINA MINES
Enemies (variable): Demon, Beastman, Beast, Insect, Human, Amphibian, Spirit, Skeleton, Undead, Flying.
Loot: Lob Omen, 100kG.

The first ladder on the left will lead to two chests.
Then follow the path on the right and down, down, down. When there is seemingly nowhere else to go, press on at the top-left: a path appears to the boss, a static Spirit enemy.
Note: The amount of monsters present in the mine depends on their invasion level, which progresses by one floor for every generation passed, until they swarm the outside of the mine too.
Go back to talk to the captain to be asked to clean the bottom of ship now! Once you have done enough, you realize that the ship has set sail. Head to the deck, then down and up on the deck again: you are arrived at Nuono.

The Armed Merchant leader is willing to guarantee the safety of the Imperial ships for a yearly toll.
- If you pay, the issue is resolved: you take control of North Longit and gain +600G revenue but cannot recruit Armed Merchants.


- If you won't pay, the leader proposes an alliance instead:
-- if you agree, North Longit becomes a part of the Empire and your income goes up by 1200G but you won't be able to recruit Armed Merchants.

-- if you refuse, you are thrown out of Nuono.
Not to worry though: you can still resolve this issue through Cape Chalier with a 'Wild' Emperor (or wait till Garon appears).

3. - If you have a Wild Emperor, you can actually start by working with the Armed Merchants to open the Messina Mine and get the treasures, then get to Nuono via Cape Chalier and Subdue the Armed Merchant Group for the most profitable result.
GARON
5 generations after the resolution of the conflict with the Armed Merchants, or 10 generations after destroying the Canal Fortress, a new crisis occurs in North Longit which halves your revenue!
Go to the Armed Merchant meeting room in Mobelm (top-left building) to talk with Henrique, who explains that Garon, protected by one of the Seven Heroes, Subier, has taken over the Armed Merchant Group based in Nuono.


There are two options to get to him:
- by sea, and through the Waterway Maze (slightly different path now for no enemy encounter). This is the shorter route. Garon is waiting for you in ambush: come in contact with the Beastmen to start a battle: Garon & Co are quickly dispatched.


He flees, leaving you to fight with Human enemies this time, pursue and battle some more, follow him in the hideout (now accessible), grab the Minstrel's Bassoon on your way, only to witness Garon taunting you and escaping. Grr.
- by land and surprise, through Cape Chalier (if you haven't unlocked it yet, talk to the barman in Tefal to do so): you manage to attack them from the rear and surprise Garon. Come in contact with him to battle (you can also start by the other Human enemies, but do not attack the Beastmen, or you won't be able to get the Viking Axe afterwards). Defeat Garon: he flees and you have to battle 2 groups of Human enemies.


Follow Garon in the top-most building: one more Human enemy attacks. Follow Garon into the hidden pathway, take the Viking Axe and Minstrel's Bassoon before reaching the Waterway Maze emergency exit, through which Garon escapes..
Any way you took, congratulations! Your revenue returns to normal, and if they weren't already, North Longit becomes part of your Empire (income +1000G) and the Armed Merchants become recruitable.
But this may not be the last bit of Garon you see.. The next episode is the Sunken Ship.
Note: The chests in the basement of Nuono are linked to the chests at the end of the Sunken Ship. If you do not pursue Garon in the hidden basement, the content of the chests (Poet's Bassoon and possibly Viking Axe) will be behind Garon's Ghost in the Sunken Ship, but if Subier appears, you must defeat him to be able to get the items. There is no reason why you would need to postpone taking the treasures in Nuono: grab them there!
SOUTH LONGIT
There are several ways to reach South Longit: from Nazelle or Melu Desert by land, or from Mobelm by ship.

In South Longit starts the Mermaid Quest (continue reading).
After the Armed Merchants / Garon events in North Longit, deal with the source of an unnatural storm, the Sunken Ship. After which you can face Subier.
In South Longit is also located the special Remaster-only dungeon, the Maze of Memory.
TOBA
In Toba you learn about the Sea Swallow's Nest (needed later) by the cliffs: you might as have a look and get it now (East exit).
TOBA (CLIFFS)
Enemies: Plant, Aquatic.
Loot: Sea Swallow's Nest.

This is a mini-dungeon. On the highest point, grab the Nest.
Where the Nest was, a short cut to the exit (Dash to jump down).


ATLANTICUS (MERMAID)
While you are looking around Atlanticus, talk to the woman in the S-W house to open the Witch's Sanctum on the Regional Map.
In Toba you have heard a rumor according to which there are mermaids in Atlanticus. Time to check this out!
You can start the Mermaid Quest only if your Emperor is male.
It can be started until the episode of the storm in South Longit Sea (the Sunken Ship).
Be careful: if a Time Jump occurs or if you switch Emperors during this quest, it ends automatically. Therefore, it is highly recommended to have subjugated the Savannah already, to have readily access (no risk to Time Skip) to the required characters (Moles, Hunter).
To start the quest, talk several times to the people in town, until the night falls (at the 7th talk): head to the Pub, where a charming dancer is performing.


Do this three times (the scene changes each time) and at the end of the third time take the exit at the back to learn the identity of the dancer. Now let us head to:
THE WITCH'S SANCTUM
Enemies: Insect, Inorganic, Spirit.

The Witch's Sanctum is another mini-dungeon that leads to... a Witch.
For 10kG she can craft for you potions to regain MP (Spirit Liquor) or LP (Anima Draught), or the Mermaid Potion if you know the real form of the mysterious and enticing dancer in Atlanticus (or if there is an unnatural storm over the Mermaid Sea).
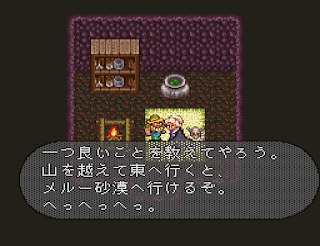
After your first purchase, she tells you about beyond the mountains and opens the way to Melu Desert.

If you choose the Mermaid Potion she gives you the list of the ingredients she needs to make it:
1) Sea Swallow's Nest (Toba) --> If you did not grab it on your way, see the Toba section above.
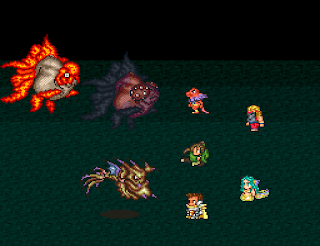
2) Eggshell (Savannah) --> Talk to the Hunter in Ostro, he will direct you to the East Woods (exit Ostro and head right, to a small part with trees where there is usually nothing): a cutscene occurs and you have to defeat a Pyrohydra!


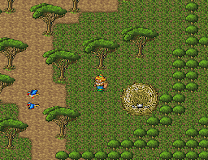

After doing so you get to choose between stealing the egg or not, and the result is the same: you get an Eggshell. (Note that if you do not pick up the Eggshell and exit the mini-map, you can fight the Pyrohydra again if you wish: just talk to the Hunter once more.)
3) Water from Lake Aqua --> This requires a tad more work.
Get to Lake Aqua from the West exit of Ludon Highlands (Ludon Region): at the tip of the land as you are about to get water, a Nereid comes out and states that you need a Moonlight Comb.


Head to the Mole Village (through Ostro and Termite Den) and talk to the Mole near the end on the right (the Craftsmole): he can craft the Moonlight Comb but needs money and moonlight, which you can gather with the Mole Pot he gives you.
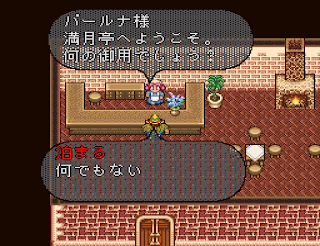
Stay the night at the Full Moon Inn in Avalon (one night is enough, there).


Be sure to have 10kG in your wallet, and go back to the Mole, who will craft you a Moonlight Comb.
Bring it to the Nereid of Lake Aqua to get Lake Aqua Water and to be able to recruit Nereids from now on.


Now let us go back to the Witch's Sanctum's Witch (don't forget to fill your wallet again) with all three items to get the Mermaid Potion.
At the back of the Pub in Atlanticus you can now use the Potion to breathe underwater and find your beloved at the bottom of the Mermaid Sea ('Mermaid' is actually the Japanese name of the town 'Atlanticus' - hellifino why they arbitrarily changed one but kept the other..).


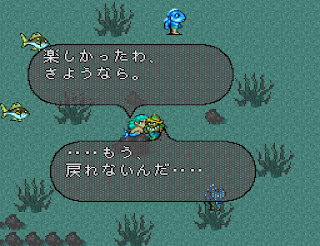
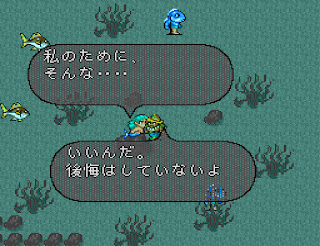
The effect is definitive after 3 uses, and a generation skip occurs.
And so concludes this hot but laborious cross-species love story!
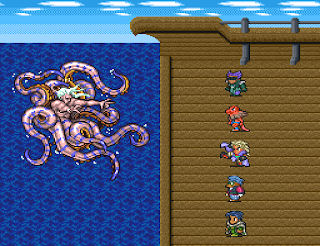
THE SUNKEN SHIP
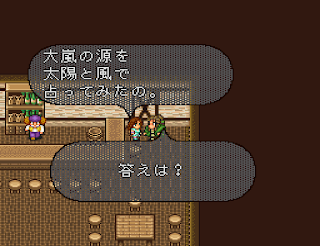
5 generations after the Garon Event, you get news that a storm prevents all crossing of the Mermaid Sea.
Talk to the Diver at the bar in Toba to learn what causes this and open the Sunken Ship on the Regional Map.
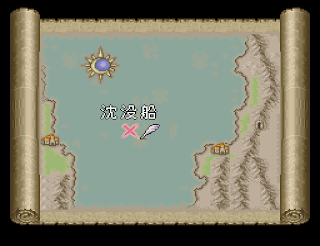
You need the Mermaid Potion in your Inventory to enter.
You possibly got it at the end of the Mermaid Event.
If you don't have it, you can start the ingredient-gathering quest to make it by talking to the Witch at Witch's Sanctum.
Or if you have talked to the Narwhal and reconciled, sit on the Throne a messenger brings you the Potion.
Once you have it, dive in!
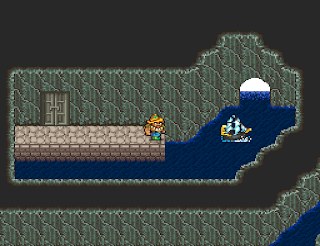
SUNKEN SHIP

Enemies: Fish, Aquatic, Skeleton, Undead.
Loot: Blue Quartz Spear, Skysteel Armor, 330kG.
A few ghost ship tricks in the 4-door corridors inside the ship, haha!
Look at the map if you are puzzled.
Grab the 3 chests and meet an old acquaintance, Garon, a bit changed but as quickly dispatched.


At this point, one of two things can happen:
1) Garon's Ghost is down and, well, that was anti-climatic. The monsters inside the ship are gone now (except in the ghost bar).
Retrace your steps to the surface and talk to the Diver, from now on recruitable, to annex South Longit to the Empire (income + 2600G)! You learn that Subier was behind all this.. Skip to the next section!
2) But possibly, after defeating Garon's Ghost, the ship starts to crumble and you flee.
If 16 generations have passed since Garon's rebellion, Subier is there outside! wondering how you are able to breathe underwater and what you are doing in his ocean..
If 19 gens have passed, or if you have defeated Narwhal, Subier 2 greets you, eager to try his newly acquired powers.


Defeat him to make South Longit part of the Empire and increase your revenue by 2600G!
Note that if you lose here, you can have a probably easier rematch in the Frozen Sea.
Anyway, good job!
SUBIER IN THE FROZEN SEA


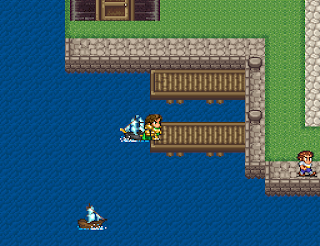
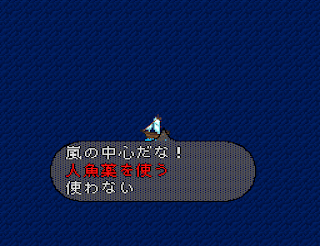
After having defeated Garon in the Sunken Ship, you can go after Subier. (Even if you have not cleared the Sunken Ship, you can still reach Subier with your Last Emperor: talk first to the Diver at the Pub in Toba.) Go to Mobelm and take the helm of the Armed Merchant ship: off we are to the Frozen Sea and Subier through a familiar, thawed Nazelle Strait (is Global Warming to blame?).
NAZELLE STRAIT
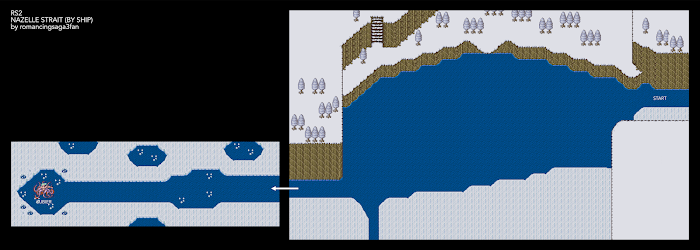
Enemies: Fish.
Loot: None.
There is only one area (the one you arrived at): prepare while you are there (note that you can disembark on the Northern bank and leave if you realize you have forgotten something), because once you take the West exit you will be led to Subier and the battle will begin automatically.
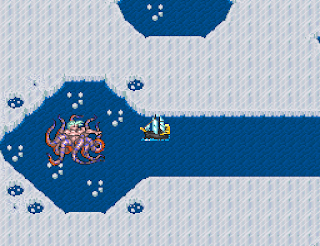
Be wary of Maelstrom: at turn 1, just Defend with everyone to minimize the damage (Maelstrom can be negated by Firewall), then keep yourselves in top shape, and make sashimi of him.
Congratulations! You have just made the Longit Sea safer..
MAZE OF MEMORY (REMASTER ONLY)

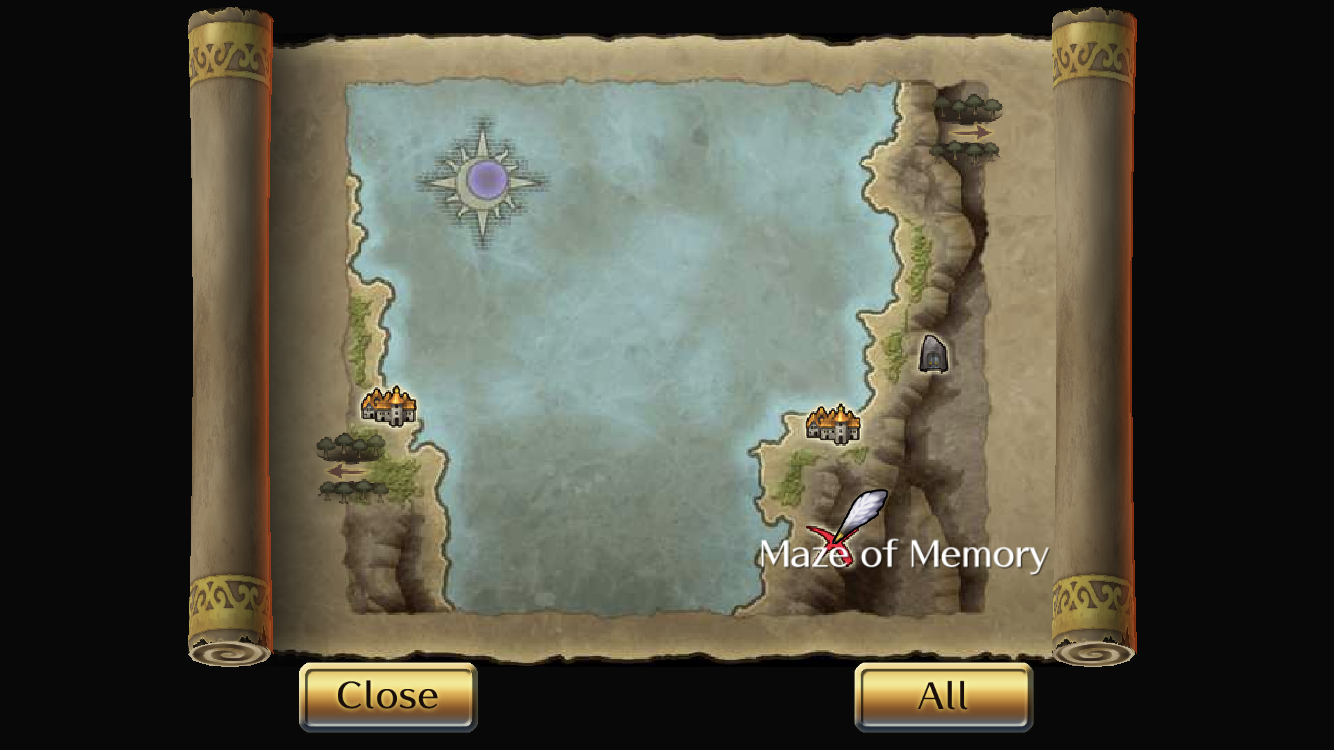
Talk to the extra sailor (S-W) on the pier in Mobelm to open the Maze of Memory in South Longit.
The Maze of Memory does not exist in the original SFC version. It is a special dungeon:
- The content of the chests is randomly determined when you reach a new floor: save before the teleportation orb on the previous floor to be able to reroll if you wish.
- Enemies are of a higher level as you reach higher floors (unrelated to your Battle Count).
- Some battles, those against enemies below your level (monster level) outside the Maze, do count towards your GBC but not towards your BC (= the first, easier floors do not count towards your BC).
- A colored orb allows you to proceed to the next floor; white orbs bring you back to the entrance.
- If you die in the Maze it is Game Over.
- Even if the maze is cleared, the chests and bosses respawn.
The items you may get from the chests are Labyrinth-specific: there are two pools of items for each Labyrinth, depending on the floor; some of these are new or previously discarded items (absent from the SFC version) and the top tier is simply excellent, making it worthwhile to sneak through the top floors (avoiding enemies) early on.
The Maze is composed of 4 Labyrinths in which you can only move forward. White orbs allow you to exit the Maze if it gets too difficult for you (on each 3F, 6F, 9F & 11F), which you should not hesitate to do because top floors are endgame-level.
After defeating the bosses of the 4 Labyrinths, a final Labyrinth opens.
Lastly, there is one special feature in each Labyrinth: the Ninja recruit (Red), the Diviner recruit (Black), Fatestone and great Rings (Blue) and an extra formation (Green). This should guide you as to where to go first, depending on your play style, playthrough, and interests. Possibly: Blue, Red, Green / Black. Black ASAP if you have unlocked the Umbrology Research facility or plan to.
All in all, much like in RS3, this is a very convenient dungeon in which you have chances to get useful top items from the random chests and to buy cheat items (one will make enemy items drop like mad), and a place that gathers all the mob enemies of the game, which are all accessible whatever your Battle Count may be, thus making tech / evade sparking and rare drop item hunting infinitely easier than in the original game. Consequently too, this will significantly decrease the game replay value (if you care, you've been warned ; ).
BLUE LABYRINTH

Enemies: Fish, Aquatic, Amphibian, Inorganic.
Loot: Fatestone (8F).
Chests:
- 1F-3F, 5F-6F: Doppelganger, 100kG, 300kG, Puissance Liquor, Barrier Stone, Aromatic Herb, Quick Ring, Water Ring.
- 7F, 9F-10F: 200kG, 600kG, Divine Liquor, Anima Draught, Black Gardiehl, Fire Circlet, Zircon Axe, Heavy Suit.
On 4F, you can buy a Potency Ring (more TP per battle) or a Bejeweled Ring (higher probability of item drop) for 10kG each. Twice, ask to lower the price (or try to buy something then refuse): talk to the merchant a third time to get a discount (5kG each) and the possibility to buy an Imperial Salve too. Note that bonuses stack: it is a good idea to buy at least 5 Bejeweled Rings (one per character; ideally 10 in all, i.e. 2 per character) to see your drop rate increase drastically.


On 8F, the merchant is in a pinch: help him (defeat Lizardlord x1 and Basilisk x3) to gain access to the Fatestone (Workshop item). There is no one here if you triggered the discounted price earlier (just grab the stone from the chest). Note that refusing to help allows you to prepare for the battle, which you can trigger when ready by touching the lizards.

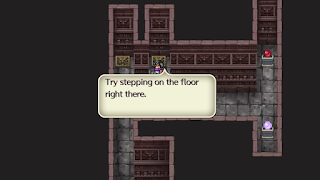
On 11F, you face Ruined Memory. Unfortunately, to defeat it, besides the basics (adequate def attributes & magic shields), you just have to be strong and lucky, the Maze Dragons being tougher than most of the Seven Heroes. Then grab the content of the chest behind it.
RED LABYRINTH

Enemies: Beast, Human, Beastman, Spirit.
Chests:
- 1F, 3F-5F, 7F: Doppelganger, 100kG, 300kG, Puissance Liquor, Barrier Stone, Cat's Eye, Thief Ring, Flame Ring.
- 8F-10F: 200kG, 600kG, Divine Liquor, Anima Draught, Tiger Armor, Fire Circlet, Waterfowl Hat, Sword of Earth.
The Ninja met on 2F is in trouble on 6F: pretend you don't see what's coming and hit the switch in the cell on her left.


Defeat the Battle Ogre (Beastman 9) to be able to recruit Ninjas back in Avalon Castle (1F).

On 11F, Sinful Memory, a very powerful Dragon, awaits. Unfortunately, to defeat it, besides the basics (adequate def attributes & magic shields), you just have to be strong and lucky, the Maze Dragons being tougher than most of the Seven Heroes. Then grab the content of the chest behind it.
GREEN LABYRINTH
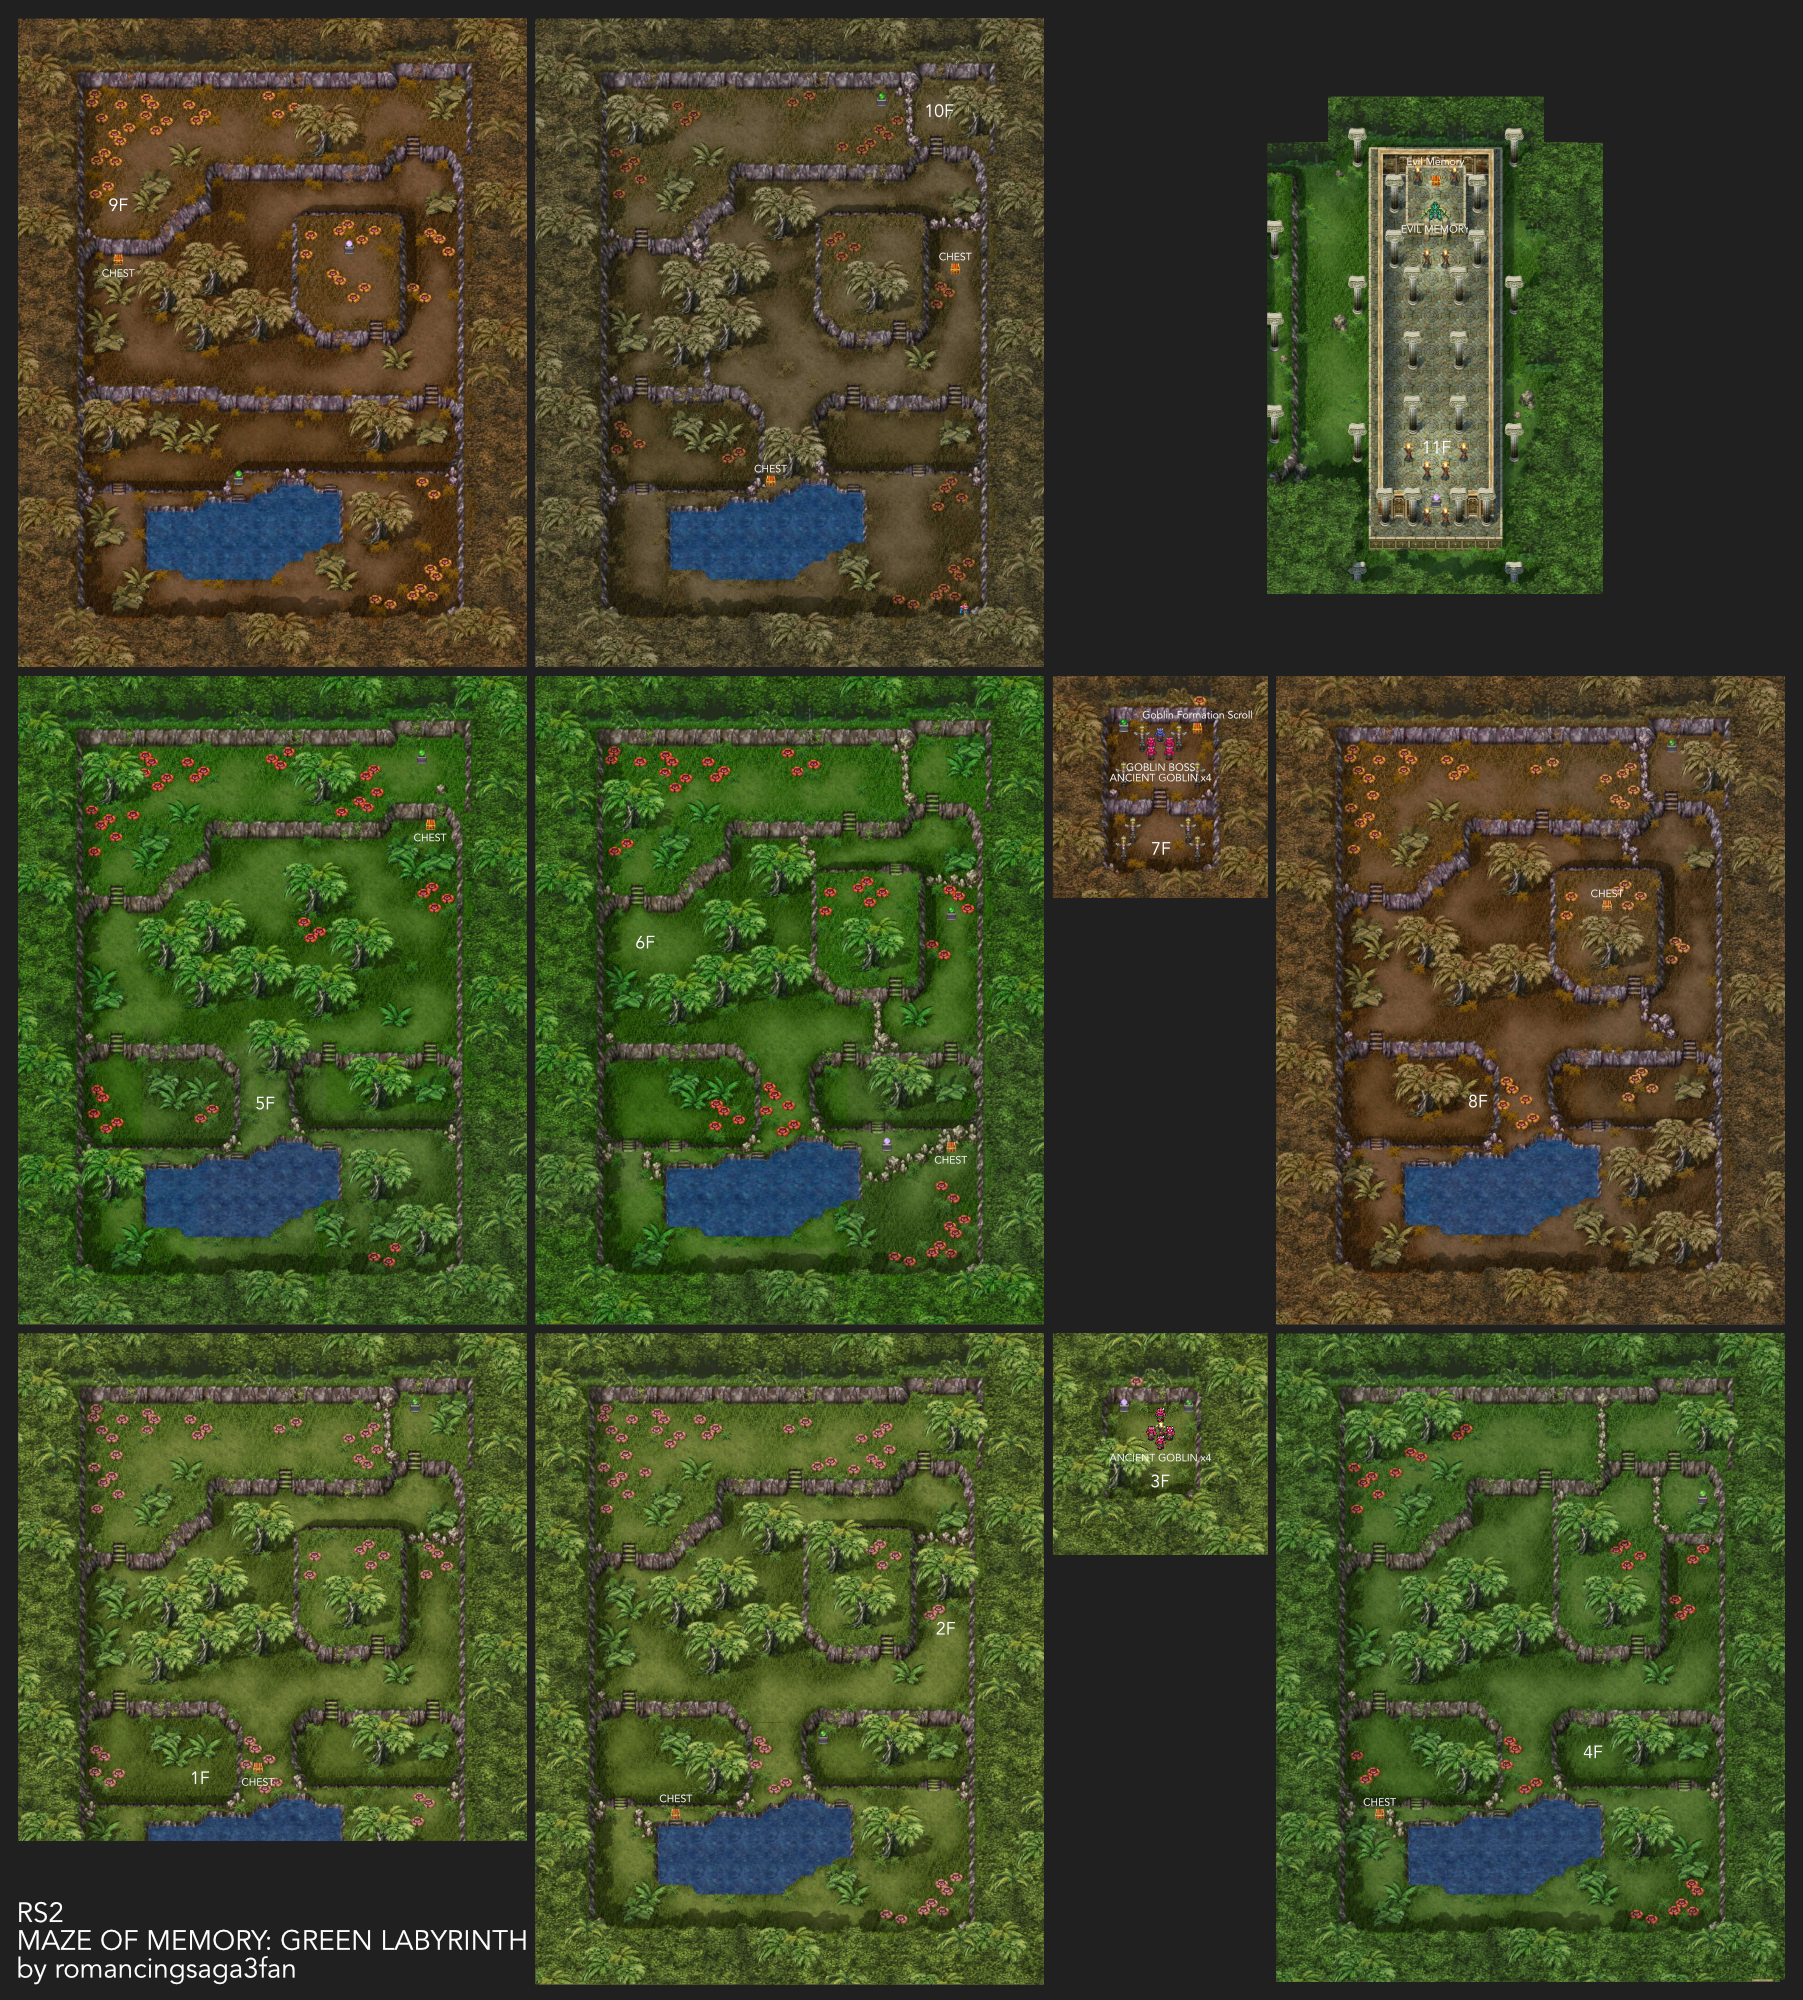
Enemies: Insect, Flying, Serpent, Plant.
Chests:
- 1F-2F, 4F-6F: Doppelganger, 100kG, 300kG, Puissance Liquor, Barrier Stone, Goblin Sword, Power Ring, Wind Ring.
- 8F-10F: 200kG, 600kG, Divine Liquor, Anima Draught, Tiger Armor, Fire Circlet, Sharp Glaive, Eres' Bow.
On 3F, you surprise 4 Ancient Goblins in the middle of doing whatever they were doing and they attack!
Defeat them to make them flee.
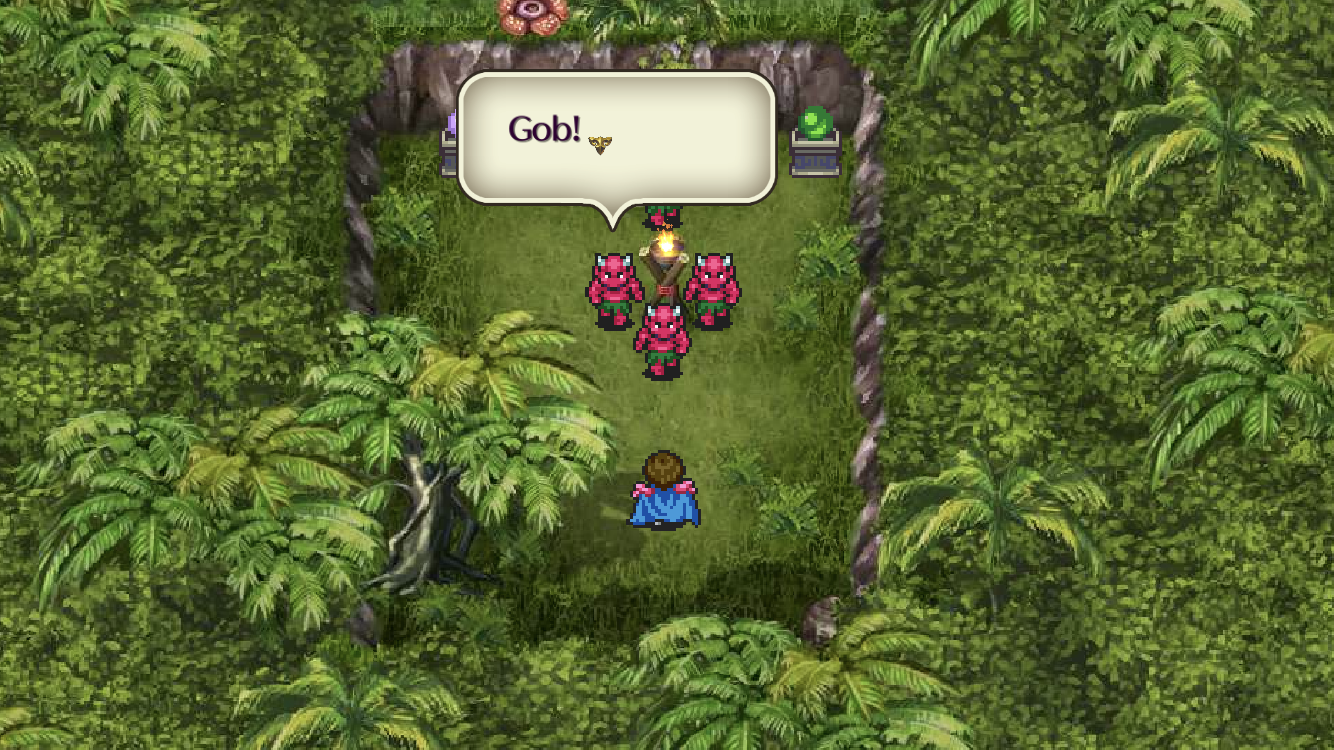


On 7F, you meet them again! The Ancient Goblins v2 are tougher (more HP, Final Strike instead of Mach Blade) and their Boss Goblin is there too. Defeat them nonetheless! Note that several Final Strikes during the same turn may mean Game Over, but this is the perfect place to learn the corresponding Evade tech (if you care).


Once the battle is over, grab the Goblin Formation Scroll. Back in Avalon, talk to the Formation Officer to gain the Goblin Offense formation.


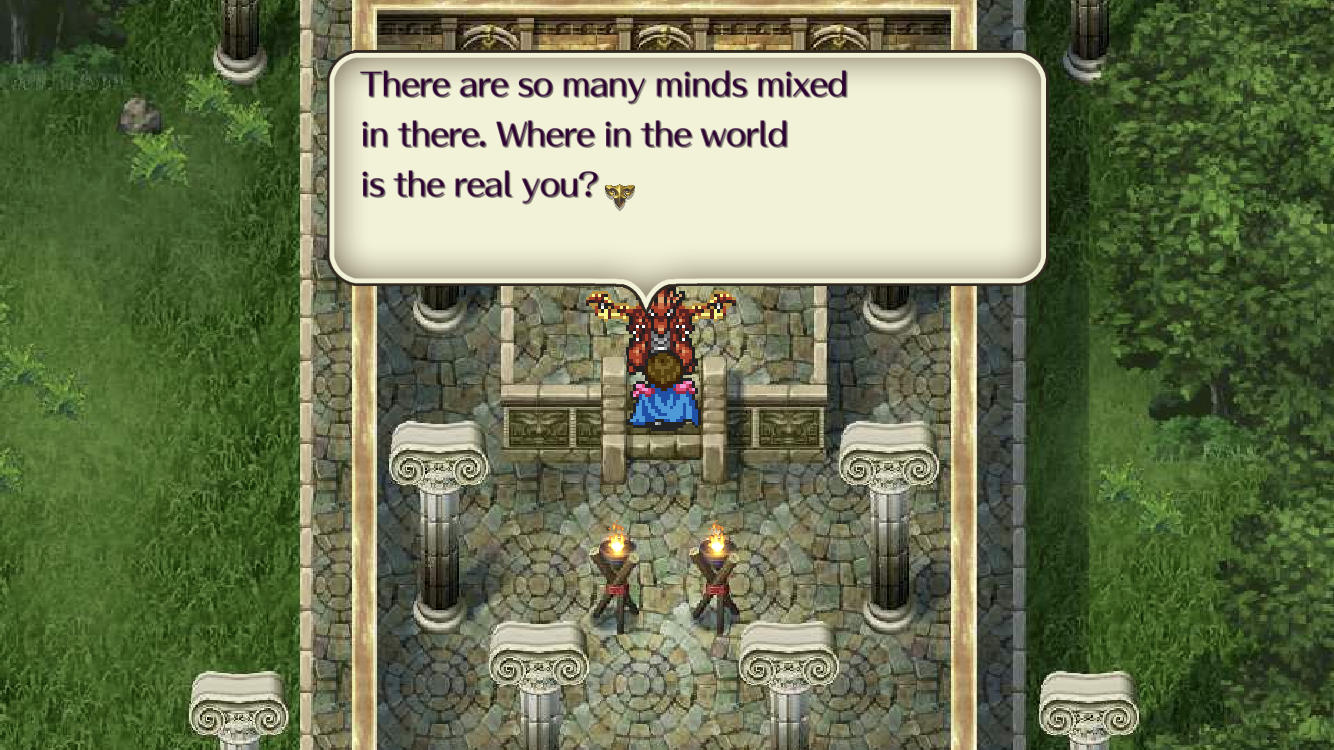
On 11F, an Evil Memory awaits! Unfortunately, to defeat it, besides the basics (adequate def attributes & magic shields), you just have to be strong and lucky, the Maze Dragons being tougher than most of the Seven Heroes. Then grab the content of the chest behind it.
BLACK LABYRINTH

Enemies: Skeleton, Undead, Demon, Ghost.
Chests:
- 1F-3F, 5F-6F: Doppelganger, 100kG, 300kG, Puissance Liquor, Barrier Stone, Passionate Perfume, Magic Ring, Earth Ring.
- 8F-10F: 200kG, 600kG, Divine Liquor, Anima Draught, Black Gardiehl, Fire Circlet, Dart, Lance of Ukom.


On 4F, you catch a glimpse of the Diviner.
On 7F, he is possessed by some evil spirit! Lust Liquor (?!) appears and can be defeated.
You can also go round and to the next floor (in which case you can defeat this foe next time you come here) - but why would you do that?

Lust Liquor, like most Giants, is fortunately susceptible to Stun (and Sleep).
Avoid vertical formations (or Cyclone / Hell Claw will destroy you).
Easier is to cast Sword Barrier and Missile Shield.
You can possibly use this battle to learn a couple of Evade skills.
Beat him to be able to recruit Diviners (back in Avalon Castle 1F Pub, next to Heavy Infantry).


At the end, on 11F, is the Crushing Memory. Unfortunately, to defeat it, besides the basics (adequate def attributes & magic shields), you just have to be strong and lucky, the Maze Dragons being tougher than most of the Seven Heroes. Then grab the content of the chest behind it.
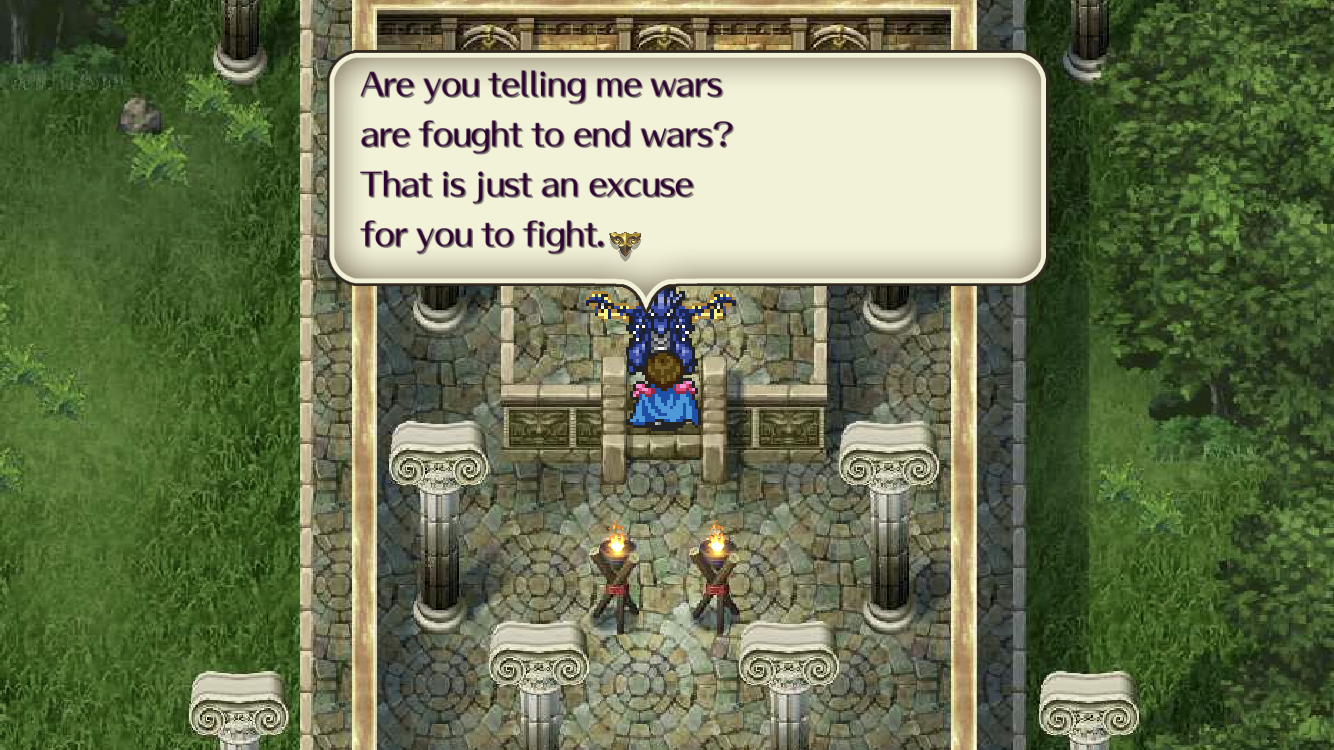
MAZE OF MEMORY (YELLOW LABYRINTH)
Once you have defeated and gathered all the Memories, you can enter the additional, yellow teleporter that appeared in the entrance hall after you defeated one Memory. Confirm to open a dimension rift (wut?) to proceed.


After the shortest dungeon ever, confirm once more to meet the Dread Queen.
You will have to wage two distinct battles without a break, which means that you will need to save about half your SP and TP for the second round. These are not necessarily difficult battles (easier, IMHO, than the battles vs. the Memories) if you have Sword Barrier or Gilden Shield, Missile Guard, and items with high Blunt and Status defenses and adequate immunities vs. status ailments.


And congratulations! You gain the Queen's Legacy.. that does not seem to do anything, unfortunately, haha.
Back to the main business! You still have to defeat the Seven Heroes ; )
***
Walkthrough Pt. 1 - Introduction | North Varennes | South Varennes | Ludon | Nazelle | Frozen Sea
Walkthrough Pt. 2 - Cumberland | North Longit | South Longit
Walkthrough Pt. 3 - Steppe | Savannah | Melu | Austeros
Walkthrough Pt. 4 - Comroon | Salamat | Jauda | Torrence | Last Emperor
Walkthrough Pt. 2 - Cumberland | North Longit | South Longit
Walkthrough Pt. 3 - Steppe | Savannah | Melu | Austeros
Walkthrough Pt. 4 - Comroon | Salamat | Jauda | Torrence | Last Emperor
QUICK LINKS
No-Spoiler Tips - Game Info - Gameplay - Characters - Techs - Sparking - Magic - Items - Monsters - Bosses - Maps - Trivia & Secrets
Walkthrough: Part 1 - Part 2 - Part 3 - Part 4
COPYRIGHT / ATTRIBUTIONS
Except where noted otherwise, I am the author of all parts of this website (including all screenshots, all maps, walkthroughs, translations & adaptations). Evidently, no part of this website may be reproduced, distributed or published without my prior written consent: failing to comply is a violation of author's rights / copyright laws. With the obvious sole exception of a short quote: kindly attribute. Please respect other people's work, like you'd expect other people to respect your own. Thank you!
CONTACT
If you see a typo, an error or would like to make a suggestion, feel free to contact me: romancingsaga3fan@gmail.com
See also --> ROMANCING SAGA 3 BLOGSPOT
YOU ARE SPLENDID
This page was helpful? Feel free to show your support! It is possible via Paypal (here or directly to the e-mail address above). Thank you!