
3
Walkthrough Pt. 1 - Introduction | North Varennes | South Varennes | Ludon | Nazelle | Frozen Sea
Walkthrough Pt. 2 - Cumberland | North Longit | South Longit
Walkthrough Pt. 3 - Steppe | Savannah | Melu | Austeros
Walkthrough Pt. 4 - Comroon | Salamat | Jauda | Torrence | Last Emperor
Walkthrough Pt. 2 - Cumberland | North Longit | South Longit
Walkthrough Pt. 3 - Steppe | Savannah | Melu | Austeros
Walkthrough Pt. 4 - Comroon | Salamat | Jauda | Torrence | Last Emperor
This third part of the Walkthrough deals with the Steppe, the Savannah, Melu and Austeros.
The Introduction excepted, there is no compulsory order for quests and you are free to deal with the quests available to you in any order you want. Nevertheless, some areas are only accessible after completing specific quests, and some quests are only accessible after a certain number of generations have passed. This walkthrough is thus mostly geographic and at times you will have to jump from one section to another: do not let this bother you! Maps of all dungeons are included below; town maps are in the Maps section. If you feel lost or do not know what to do, this Complete Quest List can also serve as a rough check list or reminder.
The Introduction excepted, there is no compulsory order for quests and you are free to deal with the quests available to you in any order you want. Nevertheless, some areas are only accessible after completing specific quests, and some quests are only accessible after a certain number of generations have passed. This walkthrough is thus mostly geographic and at times you will have to jump from one section to another: do not let this bother you! Maps of all dungeons are included below; town maps are in the Maps section. If you feel lost or do not know what to do, this Complete Quest List can also serve as a rough check list or reminder.
|
STEPPE Steppe Board via: Slave Labor or Stratagem Landship |
SAVANNAH Savannah Termite Den Eggshell (Mermaid) |
MELU Teretuva Melu Desert The Wandering Lake |
AUSTEROS Loess Ruins Firn Ruins |
STEPPE
Steppe is both the name of the Region and the name of its central area.
From Somon or Douglass you can board a ship to Miles.
You can also reach the Steppe by passing through the Gates of the Great Wall in Cumberland, or from Salamat Jungle N-W exit.

Your goal in the Steppe is to manage to board the Landship and defeat Bokhohn.
Note: Lake Wyringa (accessible from Bihara) is not linked to any event in the region, but to the destruction of the Leon Bridge in Miramar (S Varennes / N Longit).
STEPPE
Enemies: Flying, Insect, Beast.
>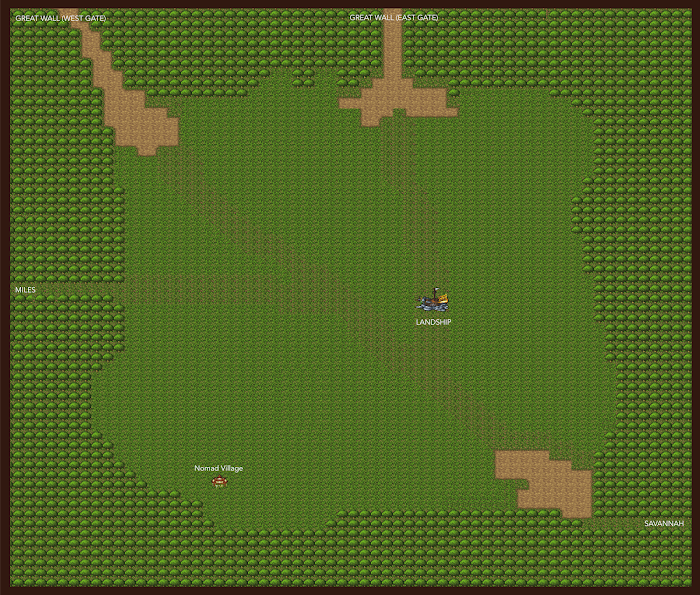
The Steppe is a crossroads from where you can access:
N-W: Great Wall (West Gate)
N: Great Wall (East Gate)
S-E: Savannah
W: Miles
and the Nomad Village.
NOMAD VILLAGE
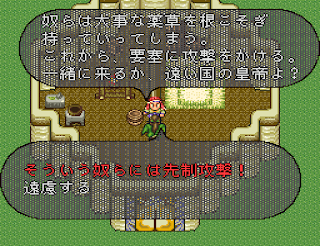
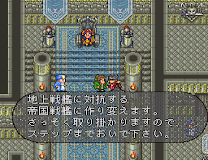
Talk to the leader of the Nomad Village to know more about that curious Landship Fortress. You can either (inconsequently) have a hopeless go at the landship with the Nomad, or stay in the tent and let him try and give up.

Now that the landship is moving, there are two ways to proceed:
- go to Miles with a Strong Emperor (see these Notes), which is the harder route (A);
- or, if you have annexed Cumberland, build the University and have access to Strategists, follow your Strategist's plan, which is the easier route (B).
A) A Forced Infiltration through Slave Labor
Miles is overrun by monsters but if you make contact, they just growl.
Talk to the only human left walking around in town (now this is fishy) or to the guy in the warehouse (the West-most building with the locked door) and accept the job (which you can only do if you have a Strong Emperor; if you aren't one, he will just lament that he needs someone strong): you have been duped and lose consciousness, drugged.


You wake up in the warehouse basement in the company of monsters, relieved of all your equipment! how nice.
Now you can either:
- flee: the Beastman enemies attack (in fact high level Human monsters) but you can escape. If you want, you can get caught again, haha! by talking to the man in the warehouse. Making contact with the enemies in town will now result in a battle. Note that if you take the South exit (to Lake Wyringa) you get a cutscene and the door to the warehouse basement is closed again (nevertheless you can get caught again by agreeing to work again); but if you take the East exit to the Steppe or if you take a ship, the door stays unlocked: you can now go re-equip in Avalon and defeat Bokhohn with your Strategist's help and you can come back to fight the high-level monsters there any time you want.
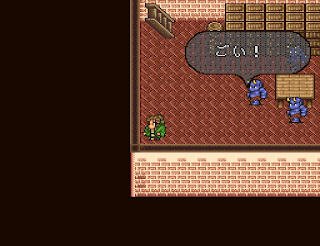
- or wait and see: you are taken to the Landship as expendable labor force!
If you try to talk to your poor companions (we can see exploited monsters there too), you are reminded of why you are there (to work without pay); if being a slave doesn't suit your taste, battle it is!

Make your way to Bokhohn now! See the Landship section below.
B) The Strategist's Plan
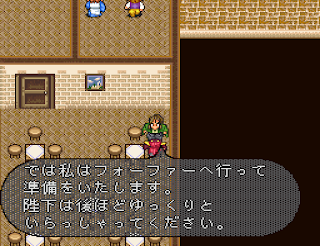
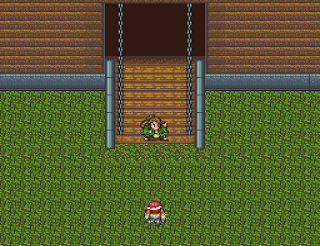
Talk to your Strategist back in Avalon (in the Imperial University): he has an idea and will meet you in Hofah (Cumberland) in the castle (notice the nifty ship in the harbor) where he tells you to meet him in the Steppe next (which you can reach through the Great Wall Gates nearby for example), where the Imperial Landship is stationed. There, you learn of his clever plan: the Empire's Battleship is a decoy to lure most of Bokhohn's forces out while you sneak in and take care of the 'Hero'. Talk to the Nomad leader to do exactly that.


Note that if you are wiped out in the Landship you cannot use this strategy to get to Bokhohn again, except if you lose against the gaoler of the alternative route (the guard that keeps watch over the labor force and kindly reminds you to keep working), in which case jut talk to your Strategist then to the Nomad leader.
LANDSHIP
Enemies: Human, Demon, Beastman, Serpent,
Loot: Blazing Sword, Insulated Clothes, Iron Armor x2, Steel Armor, Leather Armor, Doublet, 530kG.

If you have been forced to come to the Landship naked, there are a few pieces of equipment lying around.
Grab all you can (do not miss the room by the conveyor belt) and go meet Bokhohn.


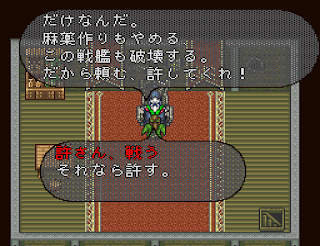
Bokhohn pretends he is not Bokhohn. Don't be fooled!
Note that if you forgive him (Bokhohn attacks you from behind) and get wiped out, and if you forgive him again the second time you face him, you get an additional line and a preemptive attack! proving that you do learn (sometimes ; ).


Bokhohn, who, interestingly enough, is a Plant, is also arguably the weakest of the remaining Seven Heroes (just above 10kHP) but his Marionette can redirect the affected character(s)'s actions towards one of your characters: better be in a fast formation (the best being the first-strike Rapid Stream of course). Against Bokhohn v2, additional precautions may be needed.

Defeat him to annex the Steppe to the Empire!
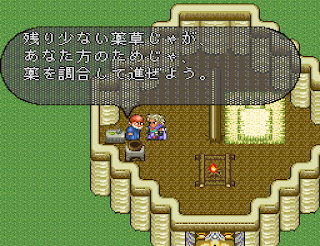
The Steppe and the Nomad Village have appeared on the Regional Map, you can recruit Nomads (M/F), get herbs from the Herborist, and your revenue goes up by 1800 Crowns. You can also pass freely through the Gates of the Great Wall both ways (the monsters that used to roam the Steppe are gone). Not that this is going to help you in any way at this point, haha.

***
SAVANNAH

The Savannah is both the name of the Region and that of its central hostile map.
There is one main quest in the Savannah: clearing the Termite Den.
For the Eggshell, see the Mermaid Quest.
SAVANNAH
Enemies: Spirit, Beast, Flying, Insect.
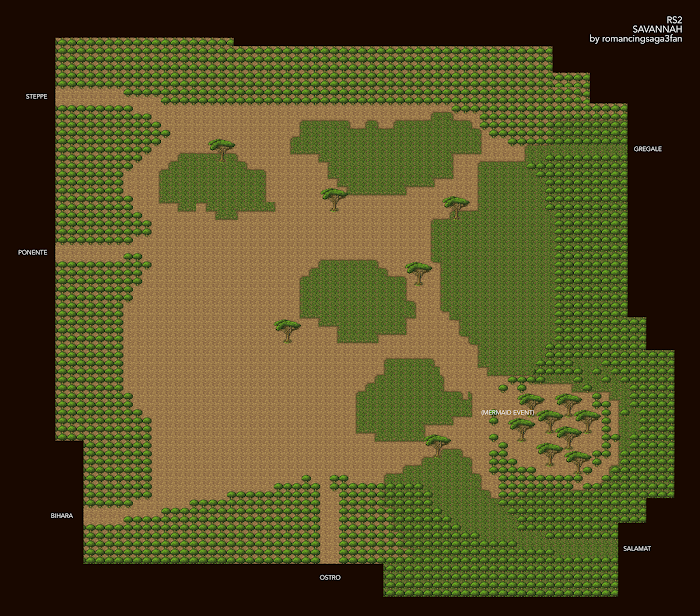
The Savannah is a large crossroads that connects several places:
N-W: Steppe
N-E: Gregale
W: Ponente
(E: Mermaid Quest: Woods)
S-W: Bihara (Melu)
S-E: Salamat
S: Ostro
There is nothing in the Eastern or Western settlements, officially renamed Ponente (where you can rest and get a hint about giant eggs) and Gregale (uninhabited and infested by termites). Go to the Southern village, Ostro, and sleep there: termites attack during the night!

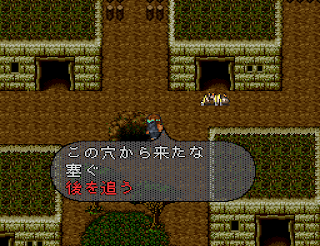
There is now a hole in the middle of the village which you can plug in (it also disappears if you leave Ostro, but the termites will come back every time you sleep there) or in which you can dive. Give chase!
TERMITE DEN
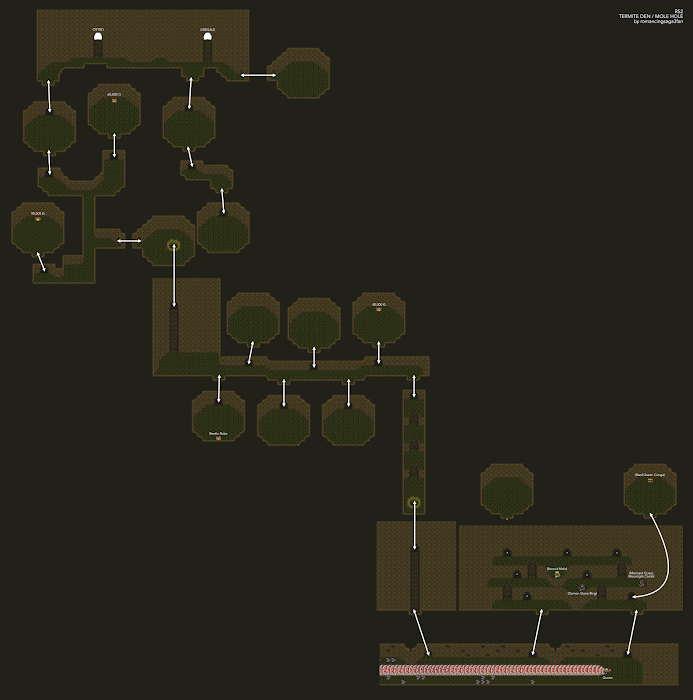
Enemies: Termitator, Termite Soldier, Insect.
Loot: Beetle Robe, 150kG.
Go down and deeper still into the Termite Den while grabbing treasures on your way.
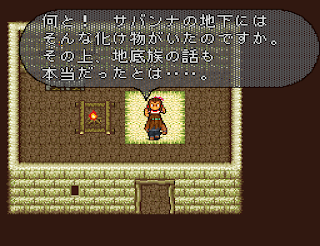
Near the bottom you stumble upon the fabled (and nearly decimated) Mole clan!
At the end is the Termite Queen.

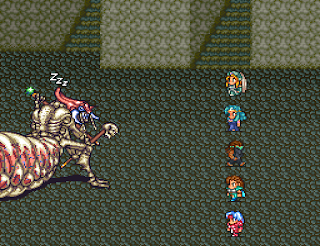
Queen has almost 12k HP but she can be Stunned and put to Sleep, which facilitates your task greatly.
Nevertheless, a Mass Paralyze followed by a Mass Poison can be a problem..
After defeating the Queen, go back to the surface and talk to the Hunter in Ostro (S-W house): Savannah conquered!
Now you can recruit Hunters, and your income is raised by 600 Crowns.
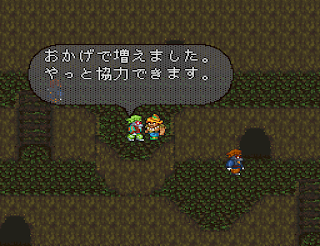
The Moles are your allies too. You will be able to recruit them once they have repopulated, i.e. next generation.
And in two generations, you'll be able to have the Demon Stone Ring made.
In Ponente, you can talk to any of the three villagers walking around to open the settlement on the Regional Map.
***
MELU
Melu is usually first accessed via Bihara (South Exit) in the Steppe, and your first contact with this hostile region is the Melu Desert. Have a look at the map if you wish, then head South while avoiding flowing sands and enemies for now to reach the town of Teretuva. It can also be accessed from South Longit (buy a potion at the Witch's Sanctum).
There are two main quests in Melu: the Monsters in Teretuva and Noel in the Wandering Lake.
Note: Lake Wyringa (accessible from Bihara) is not linked to any event in the region, but to the destruction of the Leon Bridge in Miramar (S Varennes / N Longit).

TERETUVA
The town of Teretuva has 4 exits: North, West and South exists lead to different parts of the Melu Desert while the East exit allows you to board a ship bound for Yuyan in Jauda.
In Teretuva, three towers stand out (which may remind you of other towers elsewhere).
They are overrun by monsters!

All three towers have a static boss enemy on the top floor.
Towers on both sides have a modest usable item as a reward for defeating the boss.
Defeating the boss of the central and tallest tower allows you to complete this quest.
Note that if you talk to people (or come into contact with the Human enemies outside too, actually) seven times, night falls and enemies roam also outside and are consequently fewer inside.


Eastern Tower
Enemies: Human, Inorganic, Beast, Serpent, Beastman, Skeleton, Insect.
Loot: None.
Kill the Boss (the static Insect enemy on the top floor) to get a Puissance Liquor..
Western Tower
Enemies: Human, , Amphibian.
Loot: None.
Kill the Boss (the static Reptile/Amphibian enemy on the top floor) to receive a Puissance Liquor..
Central Tower
Enemies: Human, Inorganic, Skeleton, Serpent, Insect, Undead, Amphibian, Beastman.
Loot: None.
At the top is a Beast Boss, one of Noel's minions, and a funny dialogue.
And with this victory the towers clear of all monsters, and Melu becomes part of the Empire (income +800G).
In Teretuva you have heard about a Wandering Lake..
Let us head into the desert and see what that is about.
MELU DESERT
Enemies: Flying, Serpent (Purple: Sand Drake, Yellow: Duneworm, Red: Sandbiter)

In the Melu Desert your HP is halved (attack your enemies with all you have) but you can heal back to full HP if you wish.
Melu Desert is composed of three areas: North, West, South.
At any given time, the Wandering Lake appears at a fixed place in one area (see the map for the possible locations).
But 4 times out of 5, it will be mirage and vanish as you touch it.
There is a special counter for this event, it goes up by 1 every time you battle or attempt to enter the Lake, and it determines where the Lake is and if it is real or a mirage (0,1,2,3: South, mirage; 4: South, real; 5,6,7,8: North, mirage; 9: North, real; 10,11,12,13: West, mirage; 14: West, real; then back to 0, etc.).
Note that evidently you need to change screen and come back to refresh the screen after a battle or a touch.


Concretely: the locations in West and South Melu Desert are the closest to one another and with the fewest enemies around, so one way to do this is go to West Melu Desert, see if the Lake is there; if it isn't, go to South Melu Desert, see if the Lake is there; if it isn't, battle once, go to West Melu Desert, repeat until the Lake appears; when you find it, touch it: if it was a mirage, go to the neighboring desert and come back until it is the real one (you are nearly there).
WANDERING LAKE

Talk around to learn why no one has ever come back from this strange Wandering Lake, then dive in from the shore on the left (Dash) and enter the building. Do not forget to grab the Star of Ilorina shortsword from the hidden room (Ilorina is the name of the river that flows through Teretuva).
A little farther, who is there and what happens depends on your actions in Teretuva:
- If you have not cleared any tower in Teretuva, Sagzaar is alone and tells you about the the Loess Ruins in Austeros.
- If you have cleared the East or West tower in Teretuva, Noel was just greeting his old friend Sagzaar when he notices your presence.
- If you have cleared the central tower in Teretuva, Noel is fighting a Desert Guard: you decide to be nosey and butt in.


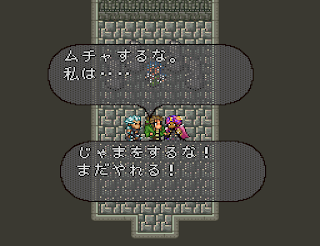
Noel, one of the Seven Heroes, seems like a reasonable fellow! He apologizes for his actions.
- If you agree to Noel's terms, he pulls out the monsters from Teretuva and there is no battle (income +800G if not already).
Note that if you kill Rocbouquet at some point after that, Noel is back for revenge in the Wandering Lake and you can battle. This can be useful since you can cash in on the additional revenue and postpone the battle if you feel too weak.
- Or you can choose to fight him!
Noel is a formidable martial artist (be wary of his Counters). He will go 'easy' on you at first, but after 14k dmg his attacks change as he activates Heat Hand and grows claws (well, Noel is a Dragon).
Note that if you have already defeated Rocbouquet (his little sister), he wants revenge and you get no choice: battle it is from the get-go, and he will come at you with full strength martial arts.
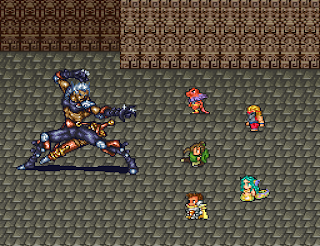
If your Emperor has more than 700 HP, Noel has evolved into a swordsman (arguably easier to deal with).


If you defeat Noel, all monsters disappear from Teretuva (income +800G). If you retreat, all except the Human monsters do.
Talk to Sagzaar (the person at the top) to learn about an old location down South (the Loess Ruins in Austeros).
Talk to the Desert Guard to make Melu part of the Empire. You can now recruit him too.


***
AUSTEROS

You cannot annex Austeros to the Empire.
Before Melu is annexed, it can only be reached through Southern Melu Desert (South Exit). But once Melu is part of the Empire and 'To Melu Desert' used to go back to Melu once, a special way 'To Austeros' is created in Melu.
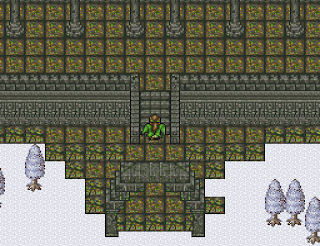
LOESS RUINS
Enemies: Serpent, Beastman, Undead, Skeleton, Ghost
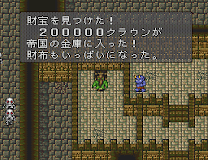
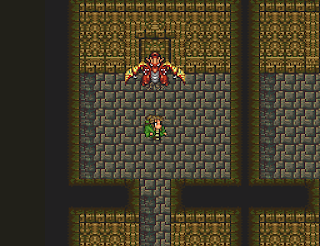
Loot: Phantom Sword, 200kG.
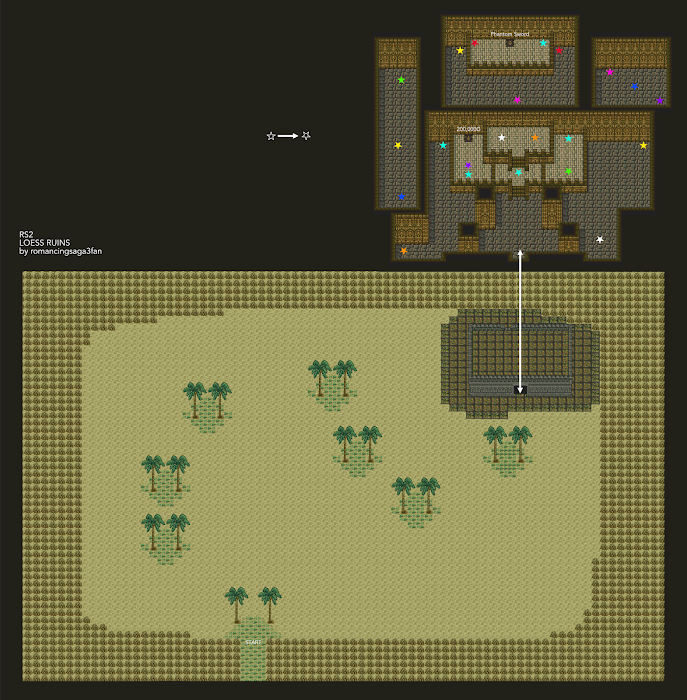
The man furthest back in the building of Wandering Lake (Sagzaar) tells you about these ruins.
The Loess Ruins are a short maze-ish dungeon. No boss, and two chests, one with a nice sword, one with money.


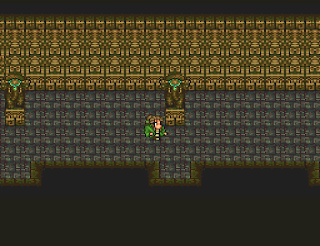
FIRN RUINS
You need to visit the Forgotten Town in Torrence first to gain access to this location.
The Loess Ruins were easy; but the Firn Ruins are an endgame dungeon with tough enemies.

Enemies: Ghost, Amphibian, Skeleton, Undead.
Loot: Rainbow Cap, Dragon Scale Shield, Dragon Armor, Dragon Blade.
Get hold of the Rainbow Cap near the start, and of the Dragon Scale Shield in the top-right corner of the first room.

The chest housing the Dragon Scale Shield is protected by 3 Gold Dragons.
They can be avoided (pause at the door frames), but you can decide to go into battle.


Arguably the toughest creature in these Ruins, due to their immunity to all status ailments.
They have 19kHP and are worth 6666 TP (really nice).
Sword Barrier (vs. its Claws and Blades of Wind) can be of use.
Keeping in shape with Earth Heal can be a good way to keep the magic environment in check.
Then pit yourself against the Fire Dragon.

The Fire Dragon hits fast and hard and can decimate your party in a few turns.
Sword Barrier (negates Claw and Feral Pounce) and Self-Burning (or Fire Wall, against its Fire attacks) are quite helpful.
Even more so are techs that induce Stun (Feint it!).
A lucky successful Mad Biter will force it to use his Claws, systematically parried by Sword Barrier, which makes it all too easy..
SFC only: It may be very difficult to prevent the Fire environment from appearing, in which case a bug prevents you to change it back to Neutral or Water, so focus on damage!
Behind it, a nice Dragon Armor.
Take a break (or not) to heal and restock, then come back for more!
Shortly after, on the next floor, are two Storm Dragons (avoidable, but it is nice XP for one battle).


For the Storm Dragon, a vertical formation and Sword Barrier (negates Feral Pounce) are helpful;
so are attacks that may Stun, put to Sleep or Madden..
The switch opens the door on the left.
Next is a corridor in infinite loop; the 4th exit in either direction (the other exit in front of which the elephant statue's trunk points to the right) is the way forward.
In the next room, the switch is only there to open the way back if needed.

On the last floor, two Storm Dragons again (which you can avoid also).
Behind them, a Black Dragon guards the last switch. This one you must fight!
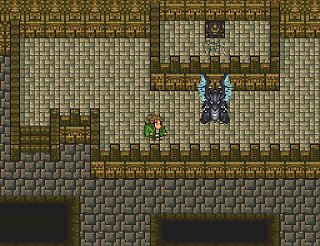

The Dark Dragon is strong and with lots of HP, but it can be Stunned (Feint is your best friend) and Maddened too.
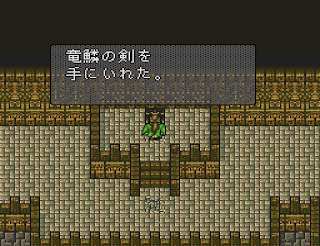
Behind it, a fine Dragon Blade. And this is it! congratulations!
Do you have to go back aaall the way to the entrance?
You would have to, if there wasn't a hidden and convenient shortcut out!

***
Walkthrough Pt. 1 - Introduction | North Varennes | South Varennes | Ludon | Nazelle | Frozen Sea
Walkthrough Pt. 2 - Cumberland | North Longit | South Longit
Walkthrough Pt. 3 - Steppe | Savannah | Melu | Austeros
Walkthrough Pt. 4 - Comroon | Salamat | Jauda | Torrence | Last Emperor
Walkthrough Pt. 2 - Cumberland | North Longit | South Longit
Walkthrough Pt. 3 - Steppe | Savannah | Melu | Austeros
Walkthrough Pt. 4 - Comroon | Salamat | Jauda | Torrence | Last Emperor
QUICK LINKS
No-Spoiler Tips - Game Info - Gameplay - Characters - Techs - Sparking - Magic - Items - Monsters - Bosses - Maps - Trivia & Secrets
Walkthrough: Part 1 - Part 2 - Part 3 - Part 4
COPYRIGHT / ATTRIBUTIONS
Except where noted otherwise, I am the author of all parts of this website (including all screenshots, all maps, walkthroughs, translations & adaptations). Evidently, no part of this website may be reproduced, distributed or published without my prior written consent: failing to comply is a violation of author's rights / copyright laws. With the obvious sole exception of a short quote: kindly attribute. Please respect other people's work, like you'd expect other people to respect your own. Thank you!
CONTACT
If you see a typo, an error or would like to make a suggestion, feel free to contact me: romancingsaga3fan@gmail.com
See also --> ROMANCING SAGA 3 BLOGSPOT
YOU ARE SPLENDID
This page was helpful? Feel free to show your support! It is possible via Paypal (here or directly to the e-mail address above). Thank you!